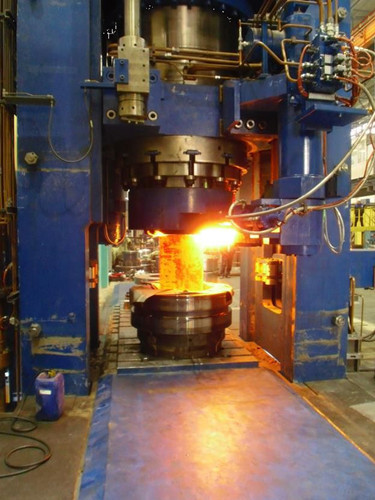
- Free forging
- Open die forging (die forging with burr edge)
- Closed die forging (no burr edge die forging)
- Extrusion Die Forging
- Multidirectional Die Forging
- Partial die forging
- Isothermal die forging

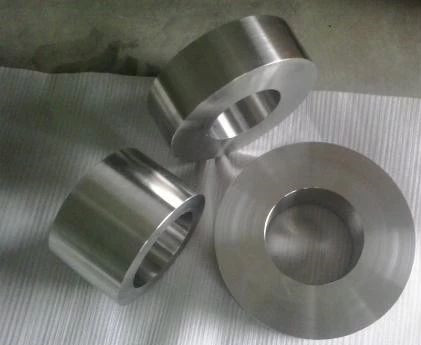
Titanium forgings have high strength, low density, good mechanical properties, good toughness and corrosion resistance. In addition, titanium forgings have poor technological performance and difficult cutting. It is very easy to absorb impurities such as hydrogen, oxygen, nitrogen and carbon in hot working. There are also poor wear resistance and complex production process. The industrialized production of titanium began in 1948. With the development of aviation industry, the titanium industry is growing at an average rate of 8% per year. At present, the world’s production of titanium forgings processing materials has reached more than 40,000 tons, and there are nearly 30 kinds of titanium forgings. The most widely used titanium forgings are Ti-6Al-4V (TC4), Ti-5Al-2.5Sn (TA7) and industrial pure titanium (TA1, TA 2 and TA3).

Titanium forgings are mainly used to make compressor components of aircraft engines, followed by rockets, missiles and high-speed aircraft structures. In the mid-1960s, titanium and its alloys have been used in general industry to make electrodes in electrolysis industry, condensers in power plants, heaters for petroleum refining and seawater desalination, and environmental pollution control devices. Titanium and its alloys have become a kind of corrosion resistant structural materials. In addition, it is also used to produce hydrogen storage materials and shape memory alloys.
Standard: GB/T 16598-1996
American Standard: ASTM B381
Material: TA0, TA1, TA2, TA3, TC4
Delivery status: annealing state (M), hot working state (R), cold working state (Y) (annealing, ultrasonic flaw detection)
Packing: carton or wooden box packing
Surface treatment: chamfer
Surface quality: Ra value of surface roughness of two end surfaces should be no more than 3.2 lum (to meet the requirements of ultrasonic inspection), Ra value of surface roughness of inner and outer sides should be no more than 12.5 micron (Ra should be no more than 3.2 micron when ultrasonic inspection is needed for outer circumference), and chamference radius should be 5-15 mm. There should be no visible defects such as cracks, folding and heavy skin on the surface of the product. Local surface defects are allowed to be removed by grinding, and the cleaning depth should not exceed the dimension tolerance, and the minimum allowable dimension should be guaranteed. The ratio of cleaning depth to width should be no more than 1:6 at both ends and no more than 1:10 at the inner and outer sides. The outer side should be grinded along the axis.
Surface finish: clean, dust-free, better acid-resistant service life.
Testing: Mechanical properties, chemical composition testing, ultrasonic testing.